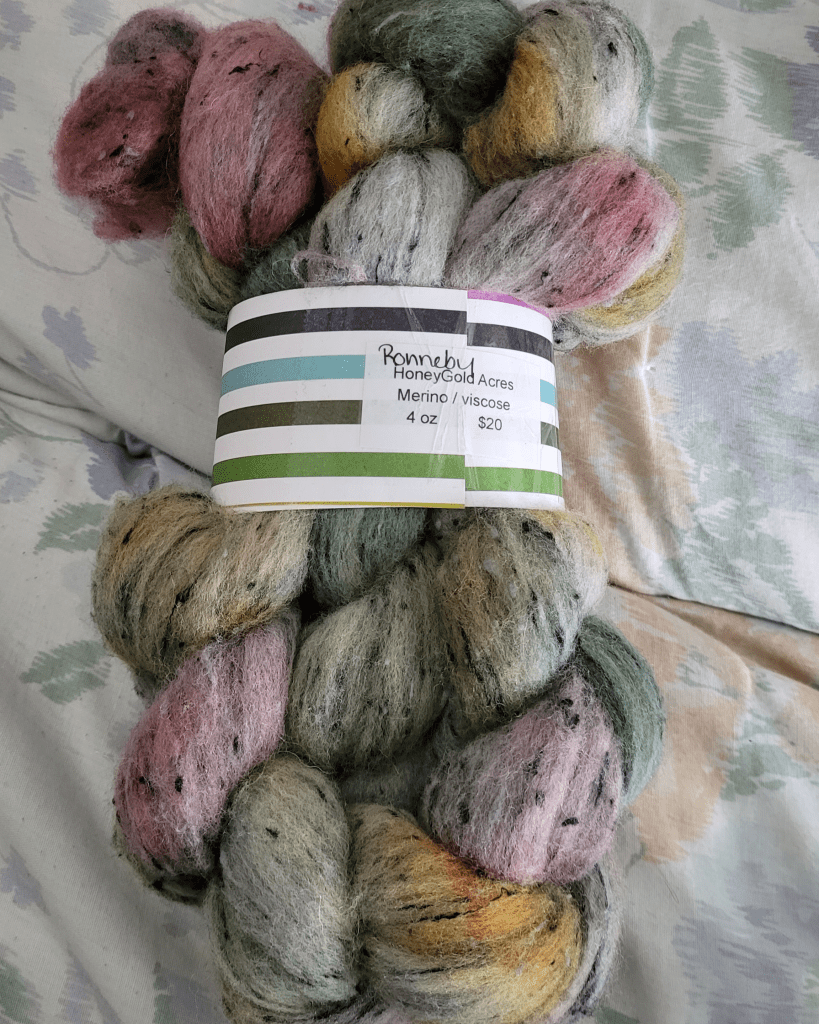
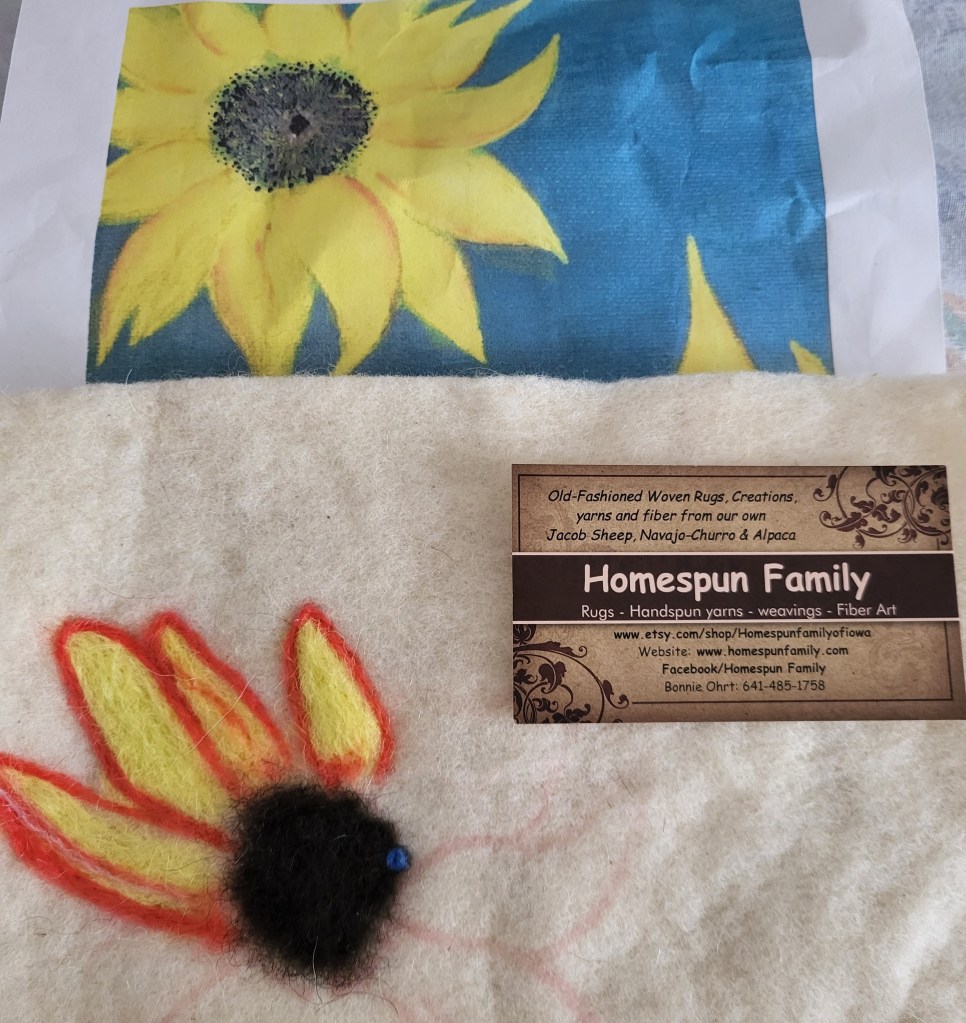
My blending cloth came today from Howard Brush Co in ME, USA. I ordered it this past week end and it was sent on Monday and I received it today, I have to say not only is the quality excellent but the process was so fast!! In the first picture is some of the fiber that will be spun on the 2nd bobbin for the yarn I am working on. The 1st bobbin is pictured below (lol obviously way below.) The 2nd picture is my first rolag, more on that in a moment. The blending board DIY project is not hard, it will requite a 12X12 piece of blending cloth (mine is 72 TPI, teeth per sq inch), that seems to be a reg normal. Cloth for finer fibers will have 90 TPI. You will also need a wooden cutting board large enough for the 12X12 cloth, I got mine at Tuesday Morning it is a 16X13.5. You will also need a dowel cut into 16 inch lengths (you should get 3 from one dowel, you will only need two 16″ lengths so one dowel is plenty) I had mine cut at Home Depot, which is where I bought the dowel. I’m sure Lowe’s would cut it for you if you bought it at their store as well. If you already have a staple gun you are good to go, if not you will need to purchase one of those as well. My staple gun was only $16. Ok, big fopah there, my dad always taught me never to say only and money in the same sentence. Sorry Dad! Staple the cloth to the cutting board (DO NOT glue it) the cloth will need the flexibility of NOT being glued down. You will need a stiff paint brush or if you don’t mind spending the money, Howard Brush Co has special tools you can use to push the fiber into the teeth as you put it on the blending board. Total cost for me was Blending Cloth $52, Cutting Board, $11, Staple Gun $16, dowel $1.50. I already had a tool to help push the fiber into the teeth of the blending cloth. If you buy the blending board it can cost up to $200. DIY is nice :).
I will put a link to a video on youtube by the Knitting Expat for how to make and use your new DIY blending board :). I follow her knitting podcasts but if you are only interested in the blending board info it starts at about 13.27 into this video. There are many other video’s on youtube that you can watch as well for using the blending board.
Ok two lessons I have learned for using the blending board already: #1 DO NOT roll your rolags to tight when you are rolling them off the blending board or it’s a real struggle to get the dowels out, hahahaha #2 be careful when using the blending brush with the metal teeth (or dog grooming tool if that is what you get), because the teeth on the blending board are not forgiving on your fingers!! :P. Think I will get a stiff paint brush to test out as well :). I’m sure there will be many more lessons.
 Ok earlier I said to see the picture below for the 1st bobbin of singles I just finished spinning. I’m ready to put it in now, sorry I am a bit wordy when I try to explain things :P. I wish the colors would be more true, it really is much brighter than this. It is dark aqua (or light teal) and varying shades of purple. This bobbin is mostly the purple. The 2nd bobbin will have mostly the dark aqua with some purple running through it so it will contrast and and be more fractal. Looking forward to seeing how it will turn out :). No plans in my head yet as to what I want to knit with it. I’m sure it will be next week before I have a plyed yarn, because tomorrow I have a young family member coming so I can show her how to make an fresh apple pie and apple butter. 🙂